I'm sure that many of you have worked on buildings where the walls are not at exact x-y orientations. Have you wanted to draw callouts that are, to make them fit better on your page and more legible? Using Revit, you can do that very easily WITHOUT having to rotate your views.
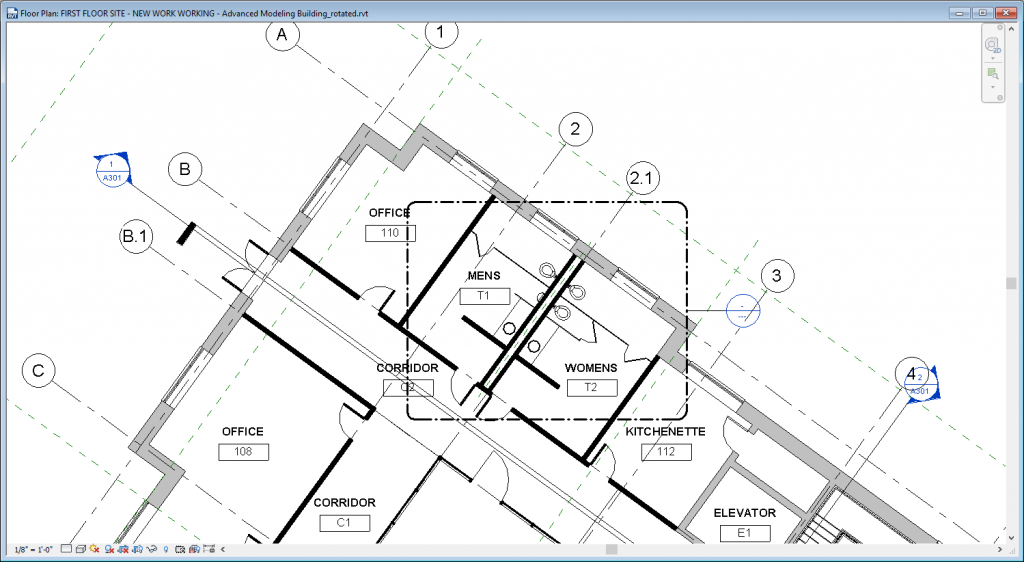
Draw a regular, rectangular callout, using the "rectangle" tool. (not the "sketch" tool - we'll talk more about that in a bit).
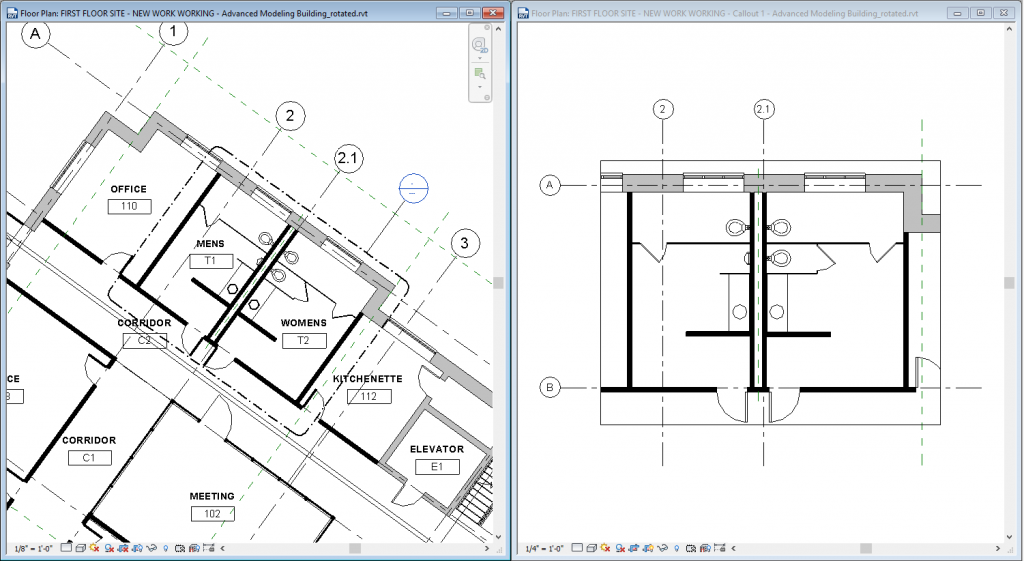
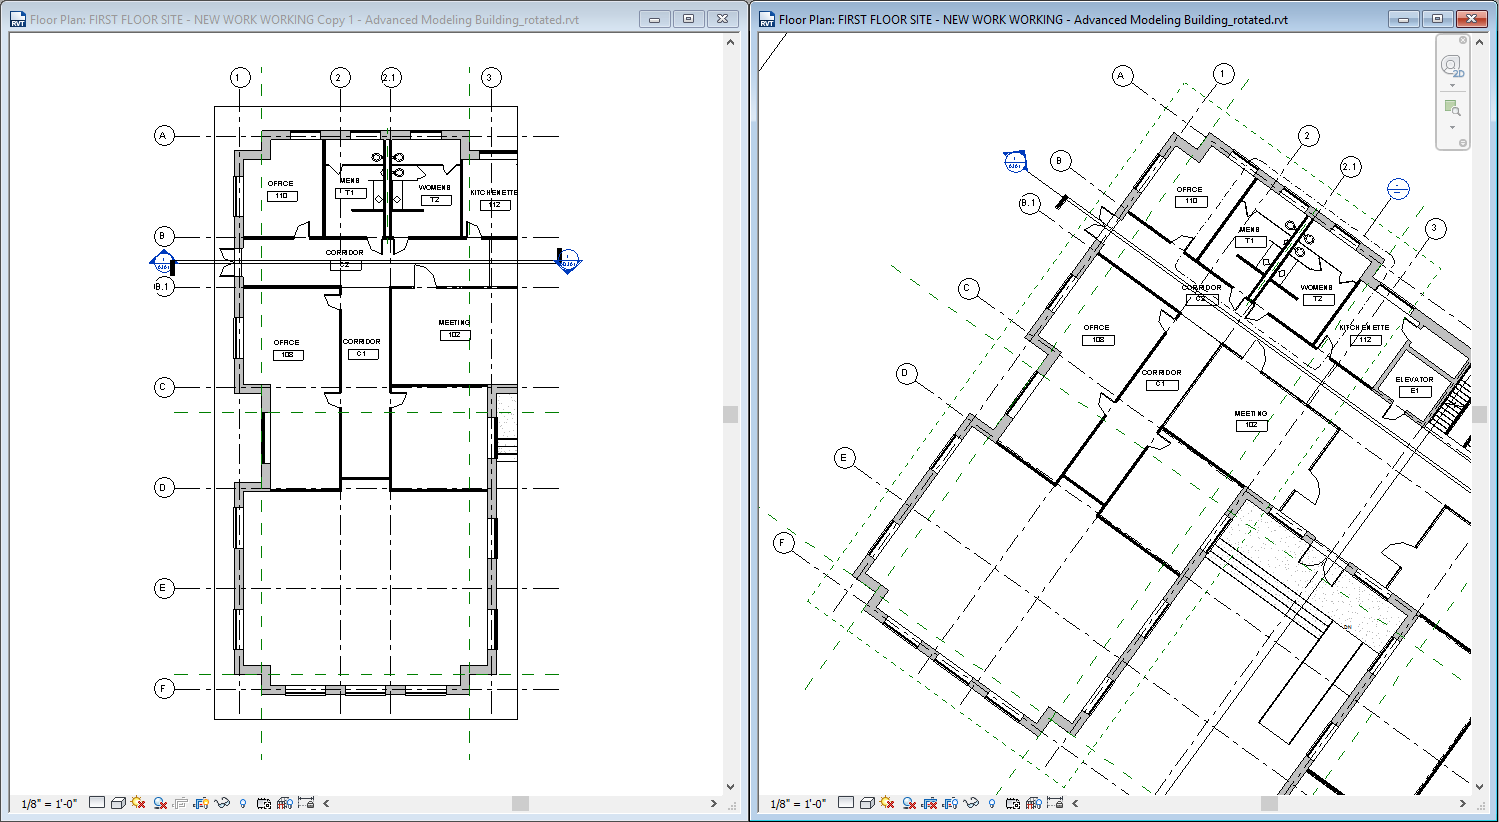
Rotate your callout in Revit so that the edges of the rectangle are parallel to the walls that you want to be straight up/down and left/right. Now open the callout and it will be rotated (see below)!
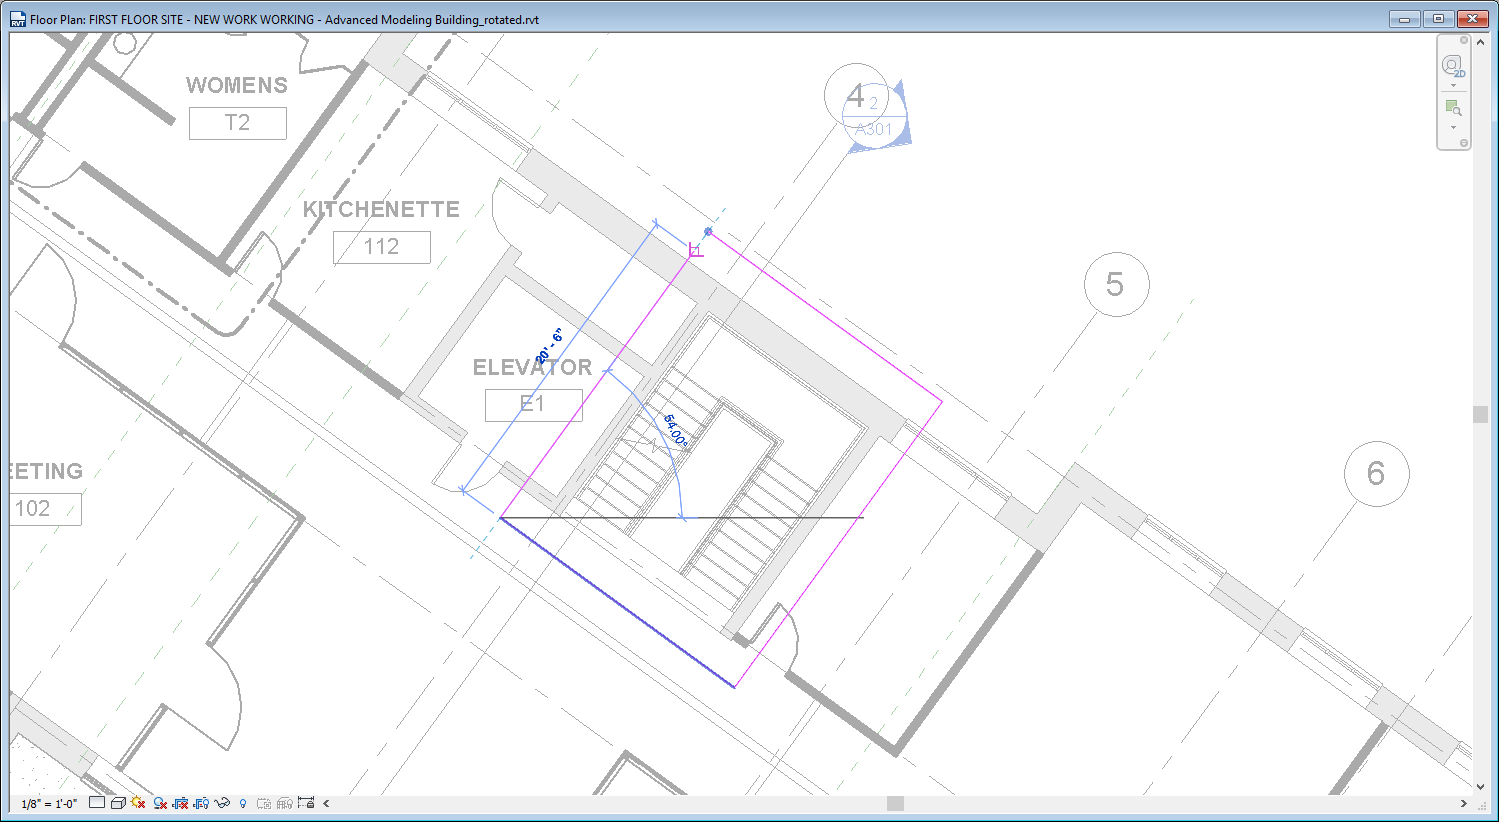
You might be thinking, "But what if I didn't want it to rotate?" Well, in that case, instead of using the "rectangle" tool under "callout" use the "sketch" tool and sketch the edges of your callout. You can still draw them parallel to walls if that's what your heart desires.
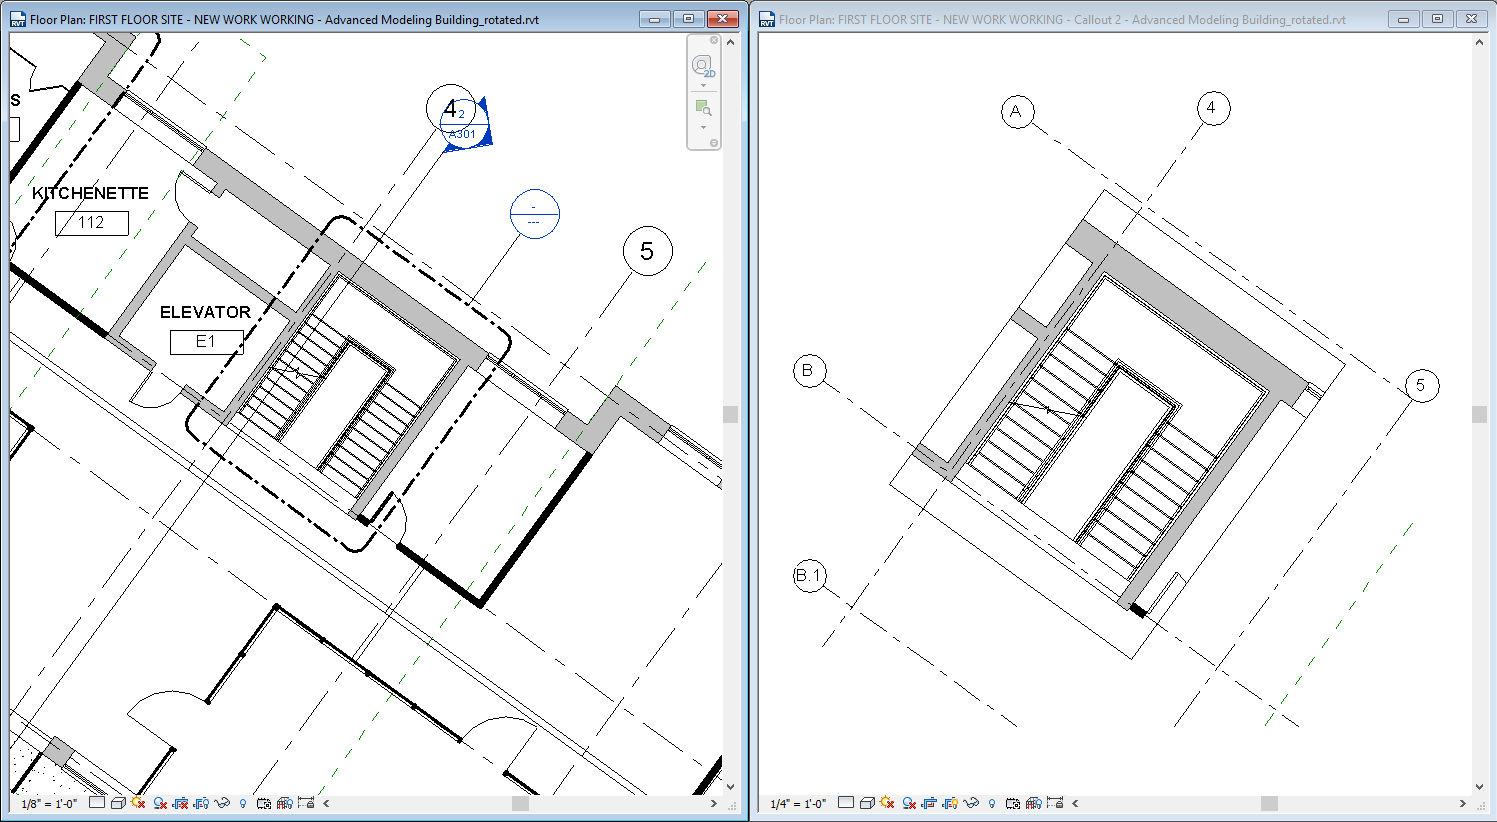
Open this callout view and you'll see that it is in the same orientation as the parent view.
Scope boxes work in a similar fashion, but you cannot set a view to a scope box and NOT have it rotate to be orthogonal.
Happy detailing!